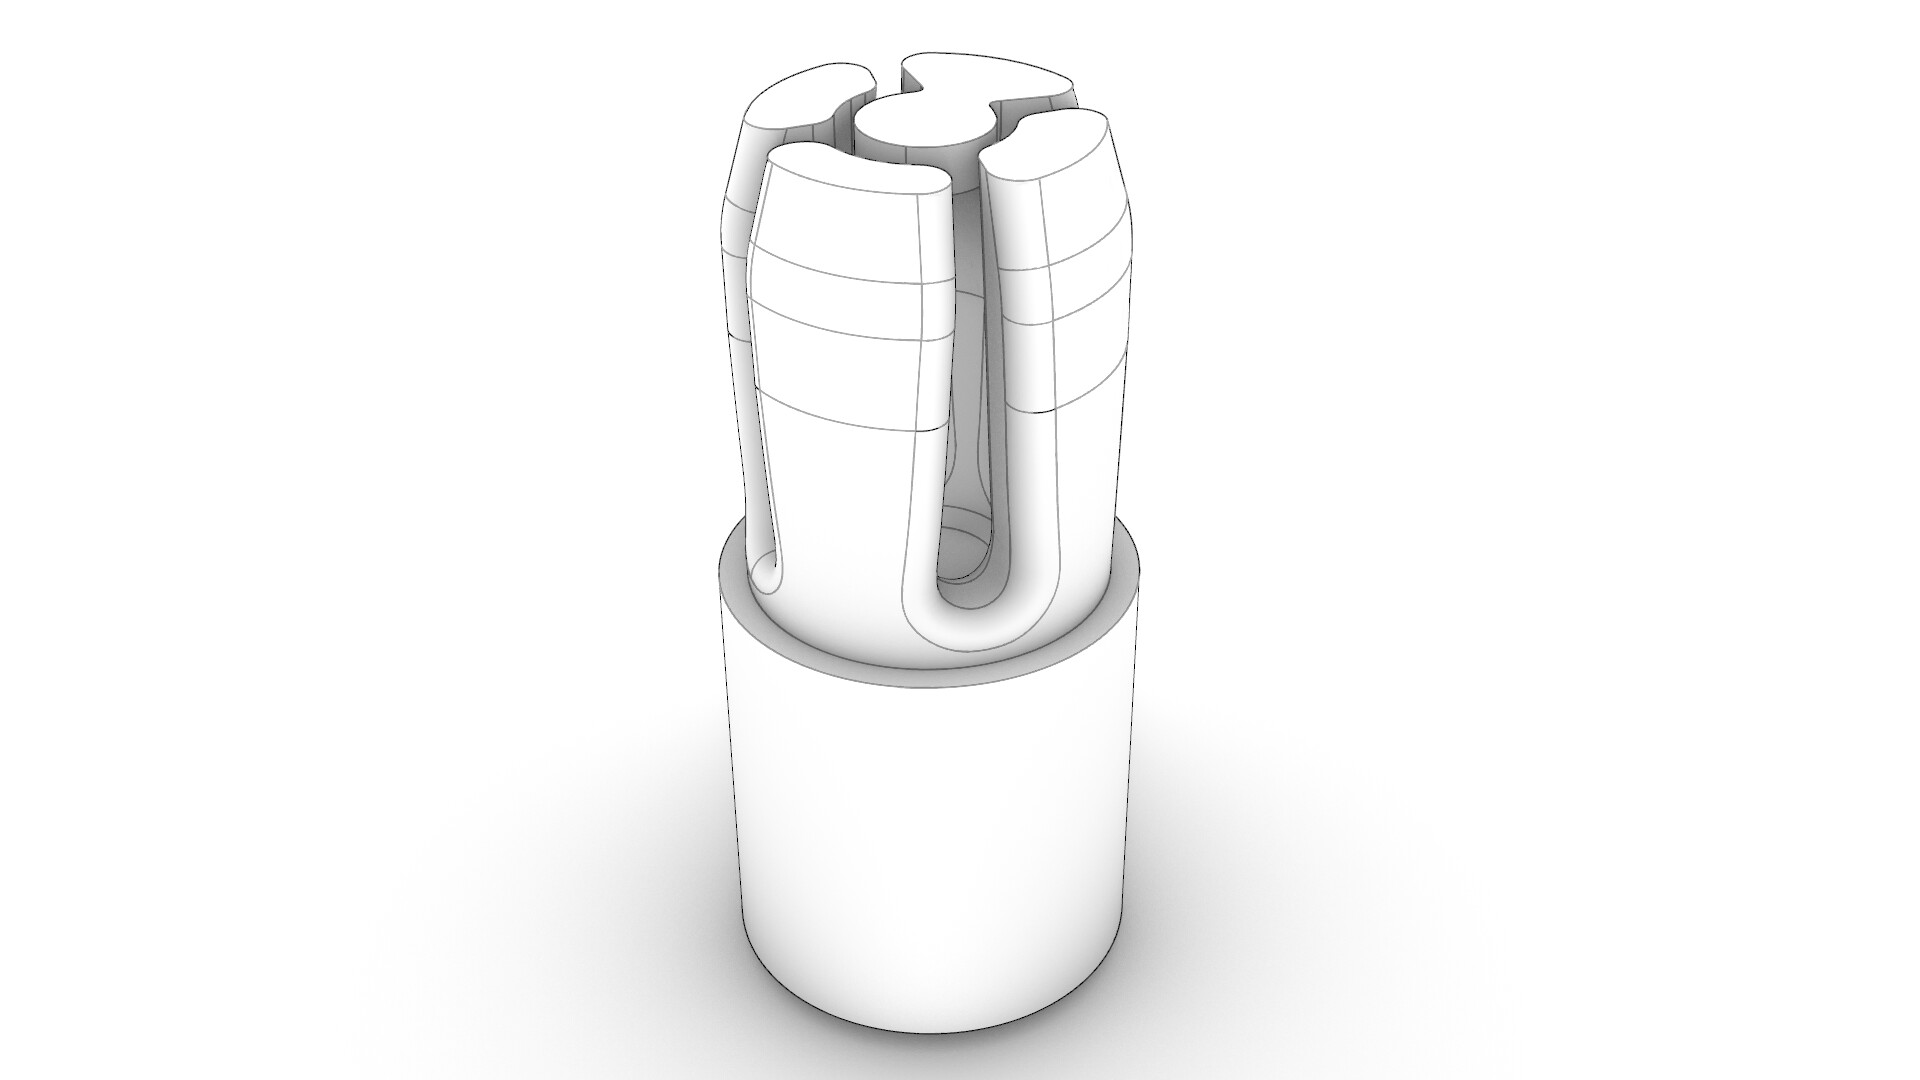
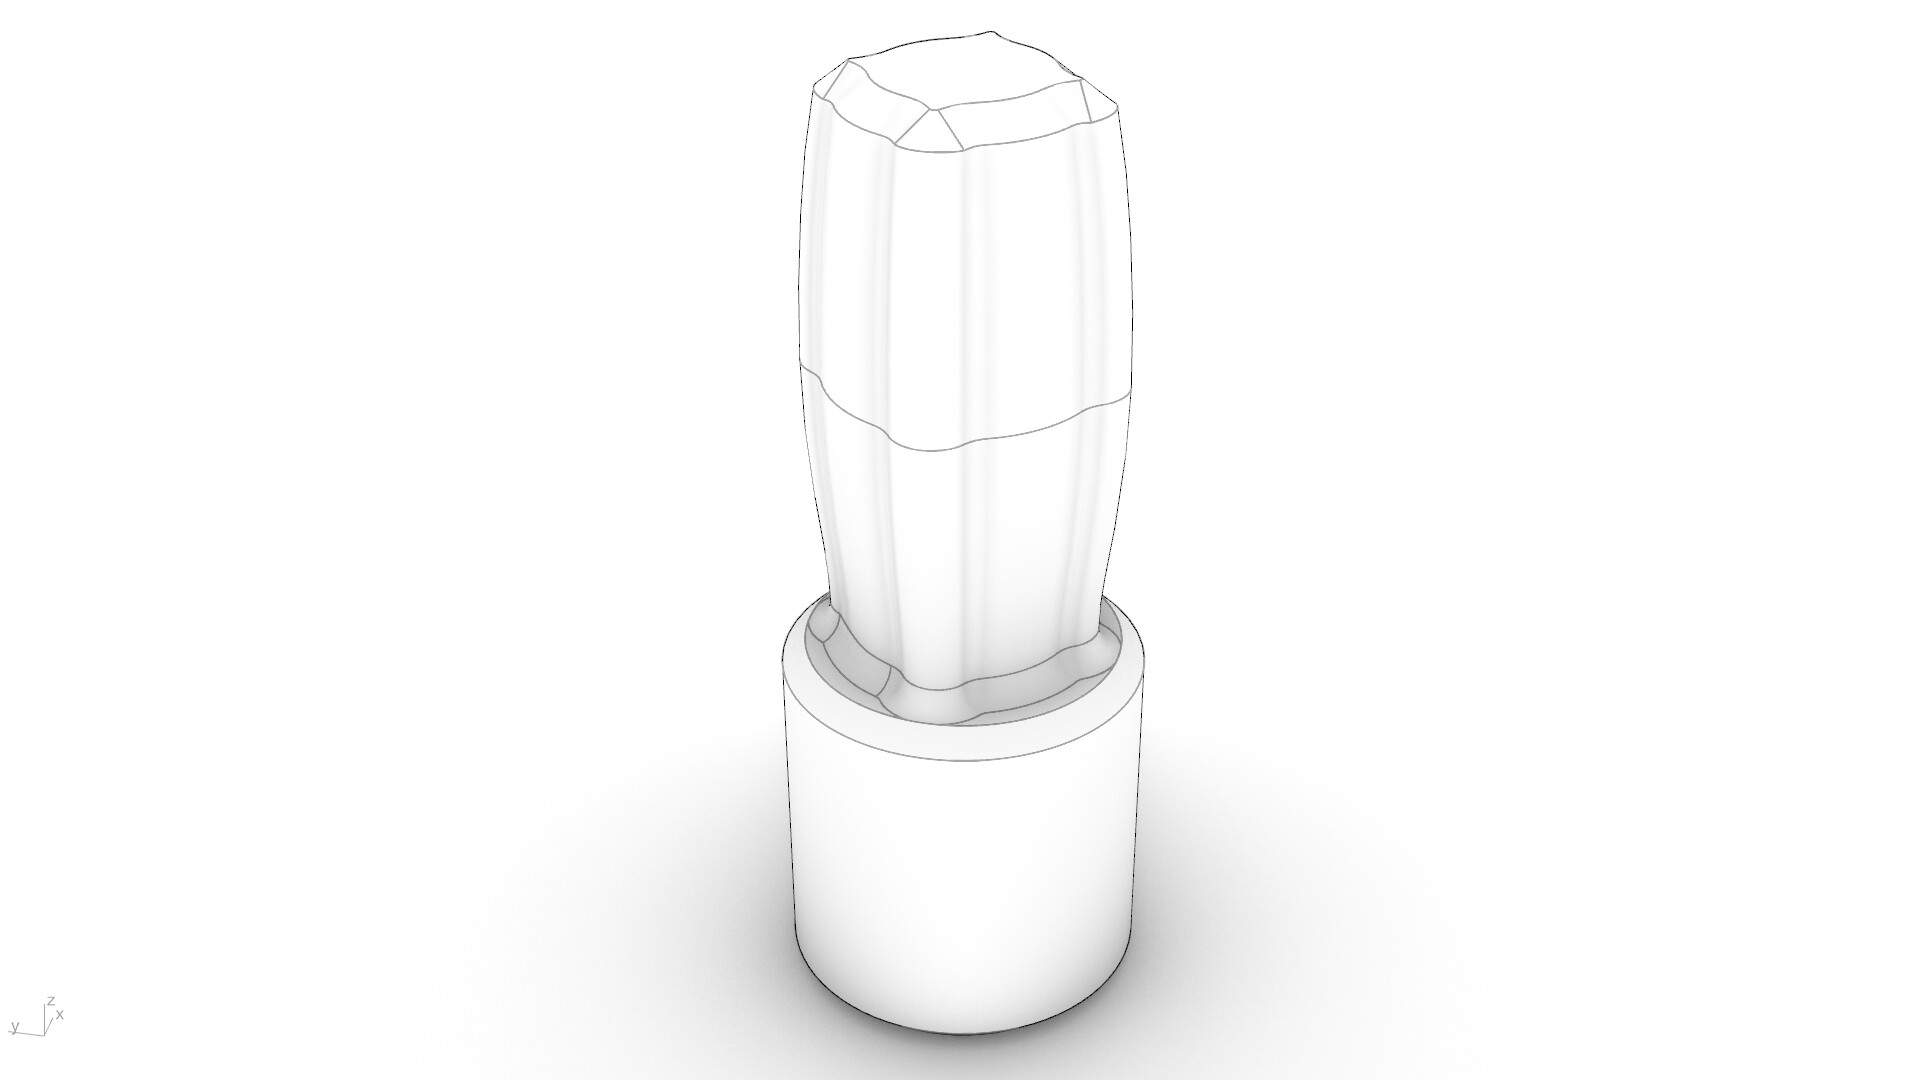
Last summer I lost a rod cap. While I could have replaced it with one of those universal rod caps, I preferred the slim profile of the original. Figuring that the easiest way to replace it would be to 3D print one, I set out to design a replacement. I drafted up and tested a few designs. Getting to the final version took a lot more work than expected, but I think the result was worth it.
Unfortunately, I lost that rod cap too. It fell out due to an interesting failure mode called cold flow, which was an inherent weakness in the plastic I used.
To fix this I picked up some new (better) plastic and 3D printed a new one.
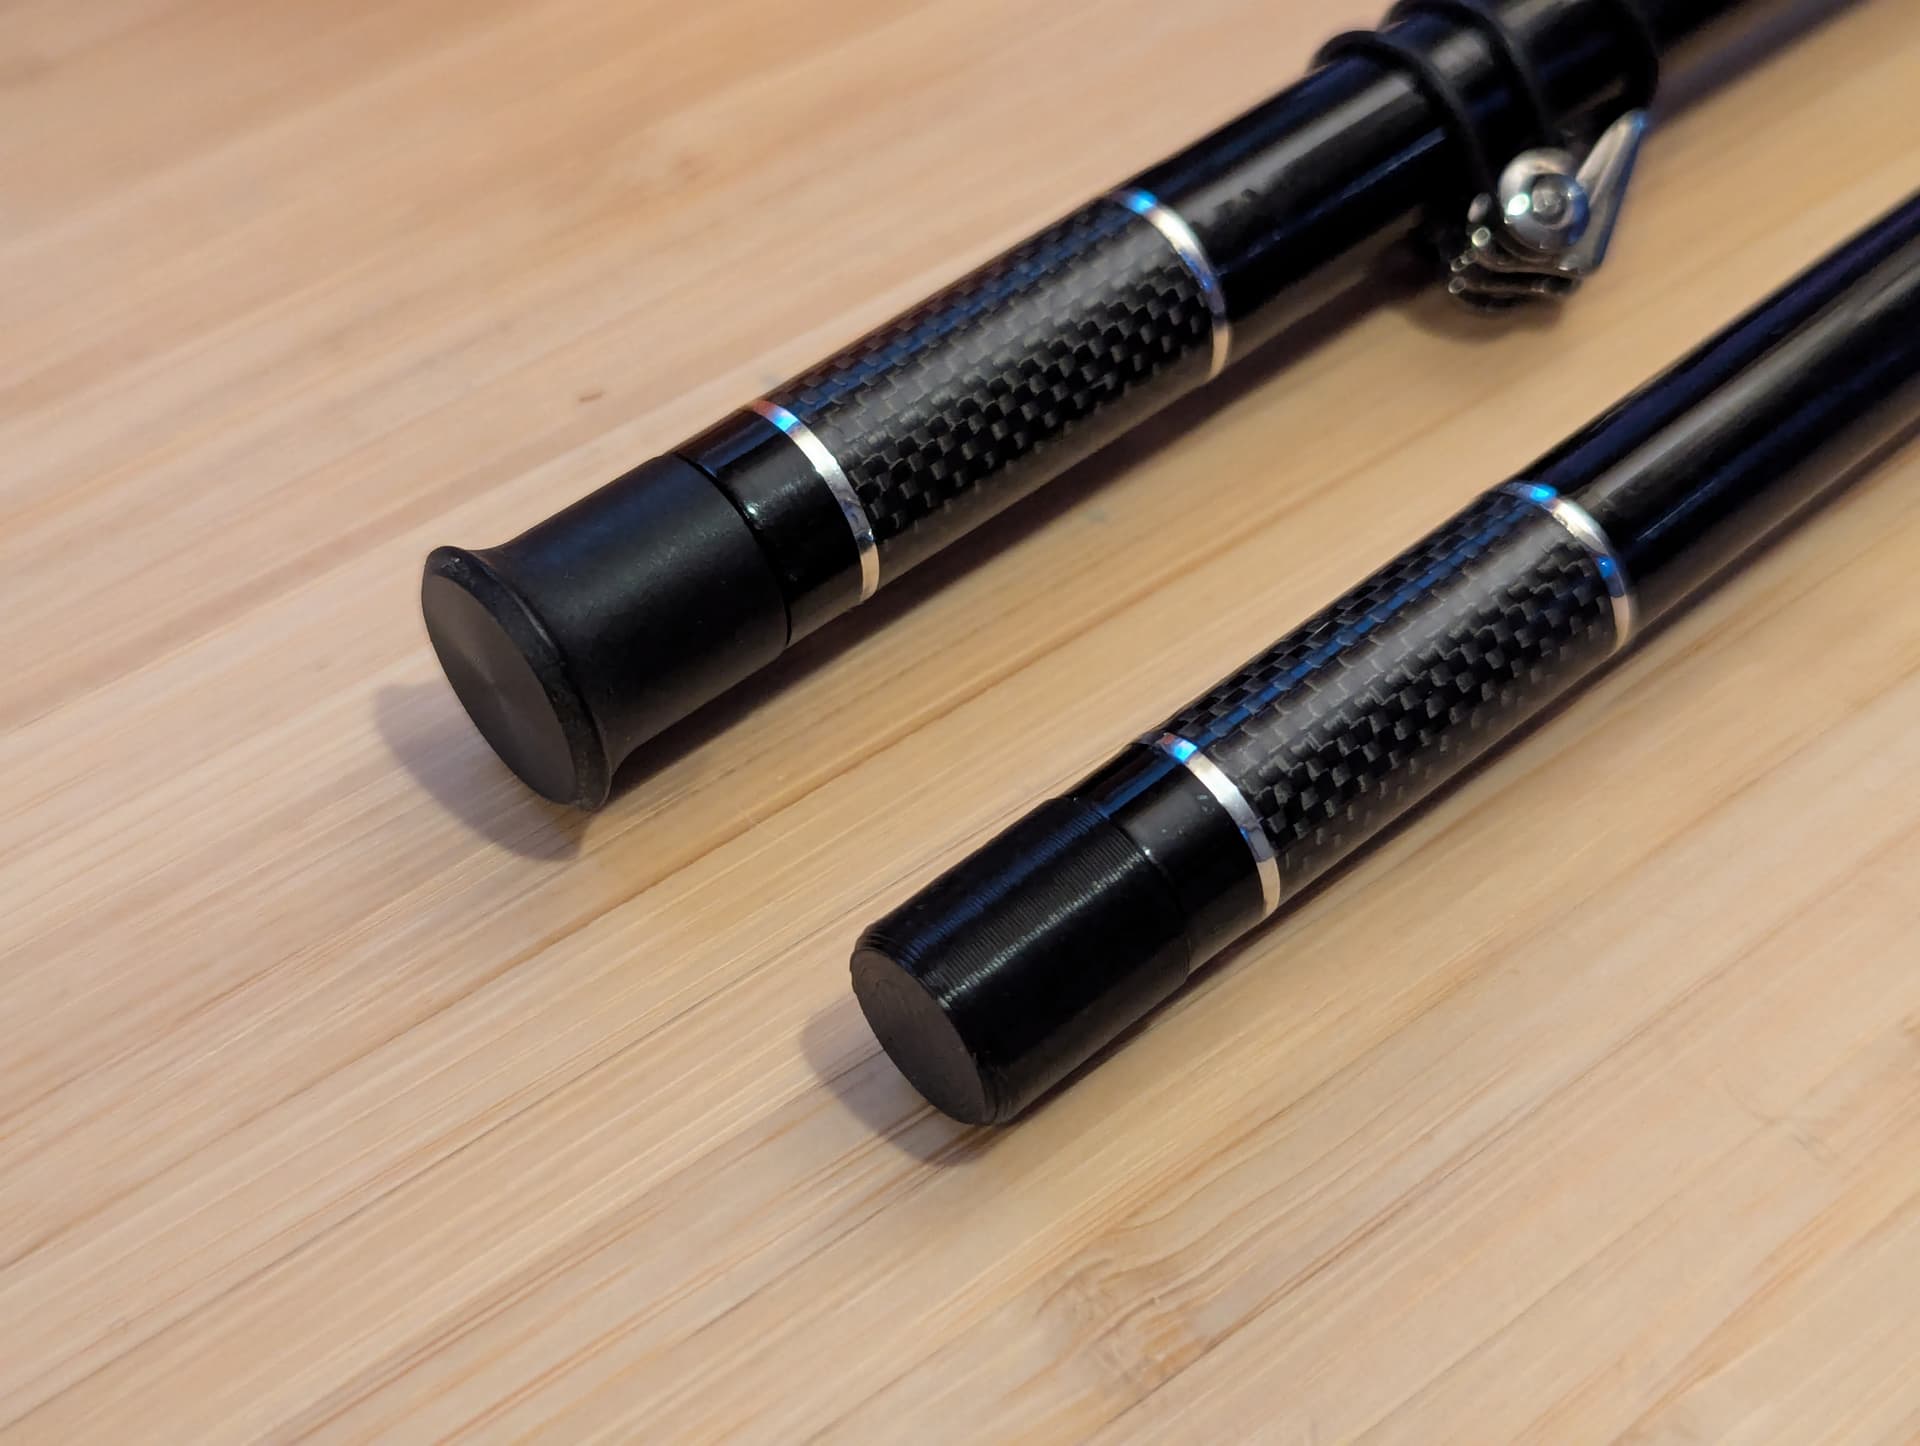
Nissin Zerosum Oni 450 with original end cap (left), and Nissin Zerosum Oni 395 with 3D printed end cap (right)
Works great!
The original rod cap got lost while walking through thick brush. It seems like an inevitability with the way the end flares out; a design I didn’t replicate in my replacement.
Looks great, I’ve done similar with my lost rod caps. I also printed some better rod caps for my Tenryu TF32TA which had a very loose fitting cap that wouldn’t stay in. It is a lot of work to get it right and get the fit neither too loose or too tight. I used PET-G on mine and I have a Prusa MKS3+.
I hear you on loose OEM rod caps. Seems like sometimes even the manufacturers struggle to get it right.
I started with PETG too, but had to switch to PC. My design uses a lot of flex, which makes it easier to size, but leaves it vulnerable to cold flow (failure due to slow plastic deformation). Ideally, I would have used a really stiff design, like a cylinder with a groove cut in it, but I found the amount of friction from that to be really variable.
Currently rocking a Prusa MK4S myself, but my eyes are on that Core One upgrade kit
Care to share a pic of how your rod caps came out?
When moving through thick brush with my rod in a pack side pocket the rod handle and tip cap is usually above the top of the pack so I have to be careful about ducking and crawling under branches; sometimes taking the pack off. But I did lose one cap. I use the DT clip-on line winders because I can fully embed the hook in the center foam securing it quite well. That allows me to put the rigged rod in its sock while strapped in the side pocket preventing loss of the caps (or plugs which I have with me but don’t use).
Whats worse is the TUSA rods with the lilian loop that can hang up on branches.
I had to make a replacement from a wood dowel. One thing I did was applied a wrap of red marine pin striping tape, so if it gets dropped, I can see it. No lilian loop on the new one.
Thank you, excited to be here. Your post brought me into the community.
Yeah I’m in need of a replacement cap. I was in a pretty bad car accident back in December. Still recovering from my injuries but finally good enough to start fishing again.
My rod was in the car and it survived the accident (it was in my 3D printed rod tube design). The rod tube broke but rod was okay. Somehow the cap came off and is lost.
I’m using one of the cheap “bamboo” colored Chinese rods.
If you ever decide to share the STL please let me know. I’d really appreciate it.
Sorry to hear about your accident, but it’s nice to hear your getting back on the water.
If you’re really eager for a 3D printed rod cap, maybe we can work together on a design? I think a geometry built around TPU might work, and unlike with Polycarbonate, anyone can print TPU.
Good point! I never use that feature, so it slipped my mind. I’ll update the model to have a little flute along one side.
I’m glad to hear this worked out for you, and thanks for uploading your scaled version. I like the idea of anyone being able to pitch in and help make replacement parts.
Awesome! I’m away from home for the weekend but looking forward to trying the new design when I get back.
This makes it an upgrade vs most original end caps if you ask me.
I’ll update my original remix with a scaled version of the new one. And double check the scale percentage and add that as well.
On issue that happened when I tried to scale the cap for some other rods is the insert went in too deep and collided with the section in the handle. I have an idea of how to resize within the slicer when scaling to only change the height. If I can get it to work I’ll upload another remix with details.
Today went to “Troutfest” pretty cool. Saw lots of vendors. Learned a lot of them are local to me in CO area.
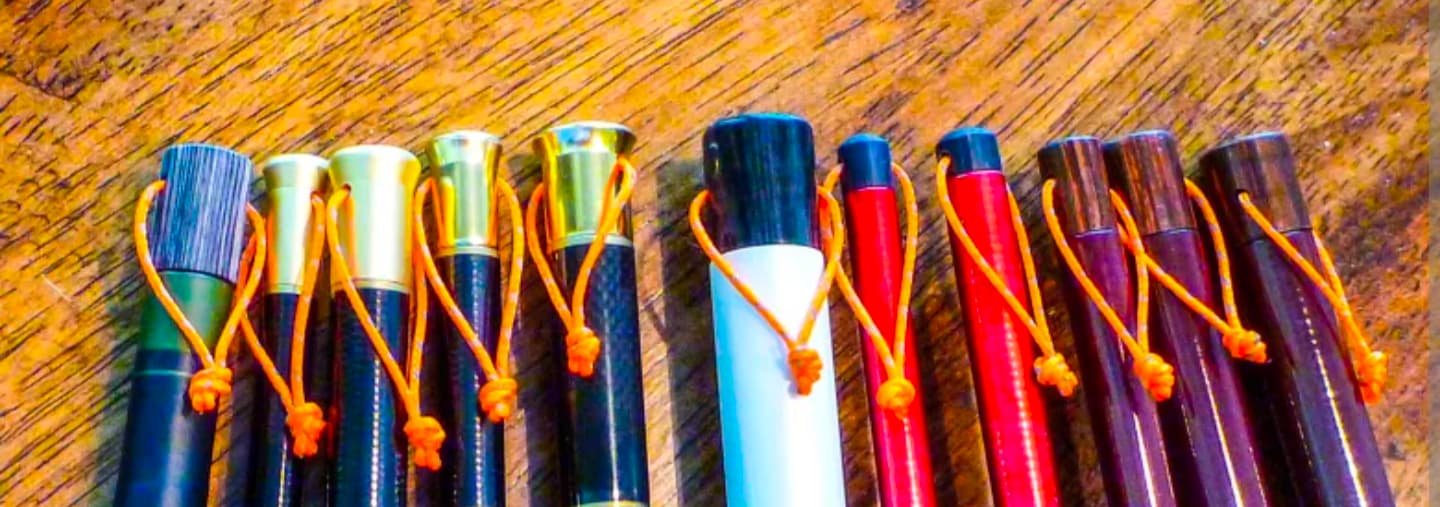
I have not had a chance to try the revision with the flute. It came to mind when I do… I’ll likely remix it to have a hole through the top for attaching some sort of lanyard.
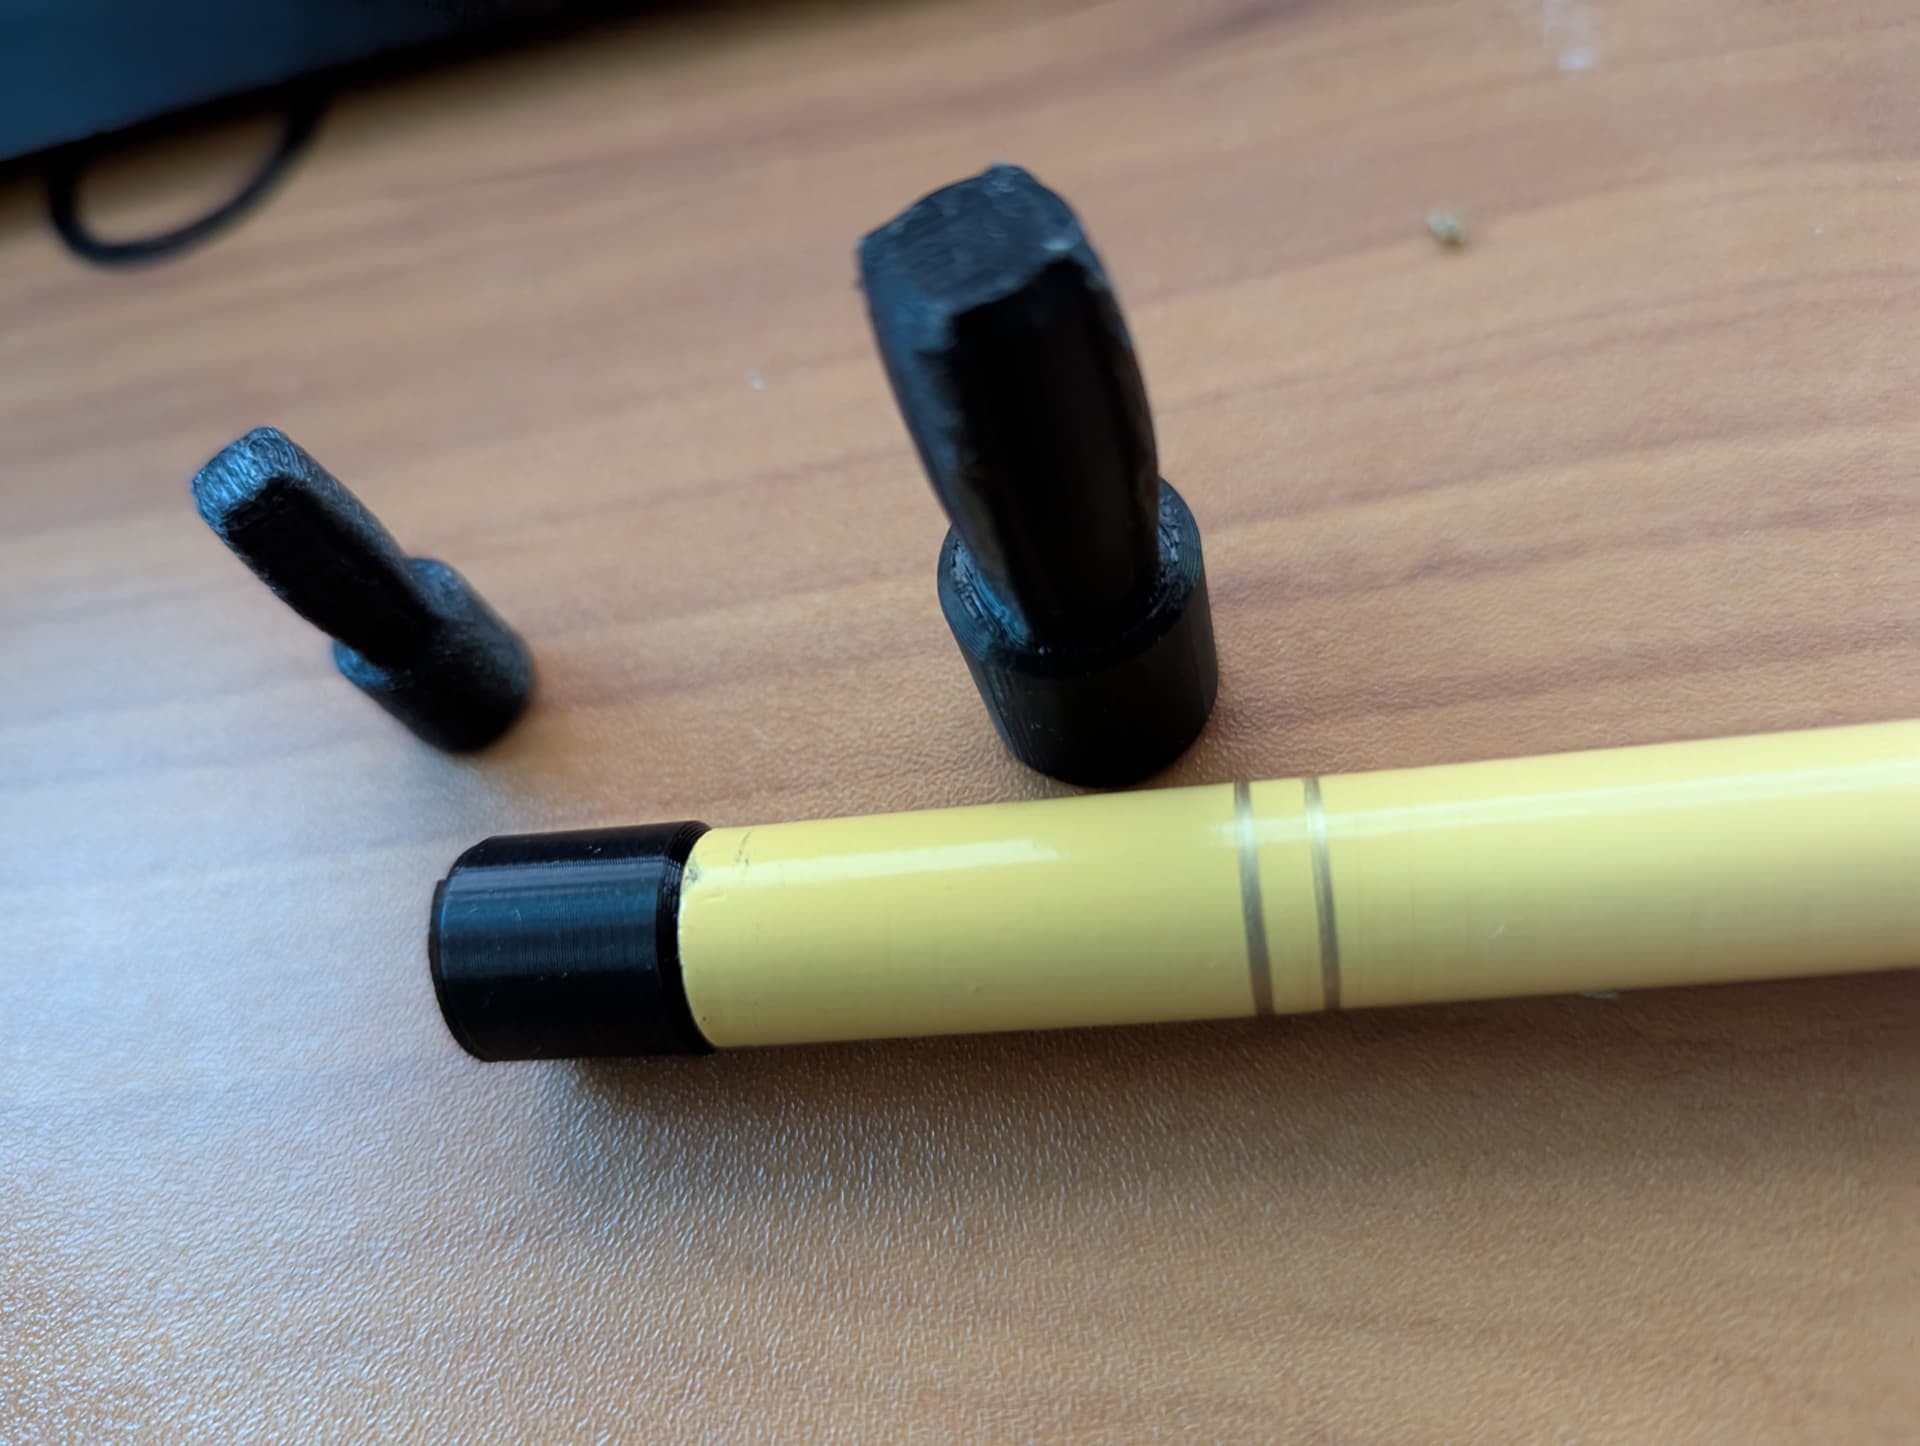
Attached image to show some examples.
I have been using my first print in TPU and it’s working perfectly! Maybe better than original.
Ah, this was a feature I chose to leave out. I have mixed feelings about rod cap lanyards; Caps with lanyards get lost because they snag on things. When I have the time, I’ll upload a lanyard version as an option.
Glad to hear the TPU rod cap has been holding up to use though. You’re its first tester!