I’m not sure why I never posted this in it’s own topic. This is a couple years old now, but still relevant.
For those of you who knew him or interacted with him, part of the credit for this idea is due to David Walker. About two years ago I was chatting with David and telling him that I was planning on building myself a tamo.
Please note I forgot to take photos at some stages of the process and also had a computer crash that had photos on it.
This all began when I cut down a white ash tree (Fraxinus americana) on my property while cutting firewood. Unfortunately, I do not have a photo from the felling of the tree. This was December 2019.
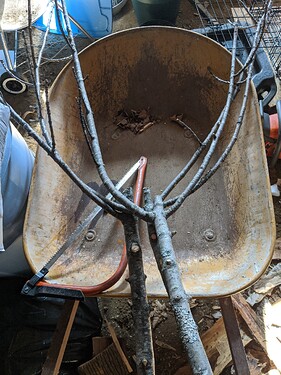
After the tree was cut, I selected what I hoped would be some nice pieces for a tamo.
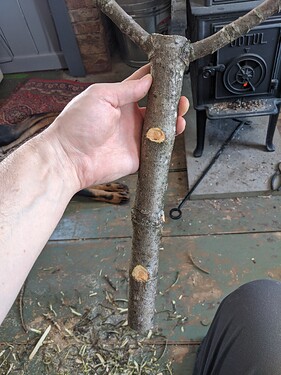
I then cured these in my garage for about 6 weeks before bringing them inside the house and removing the outer bark.
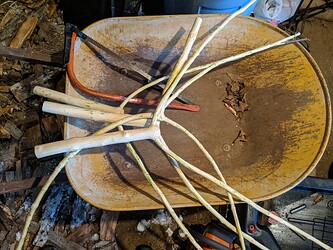
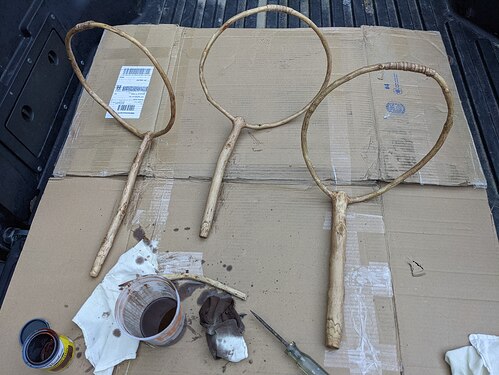
Here they are after the first stage, with all bark removed.
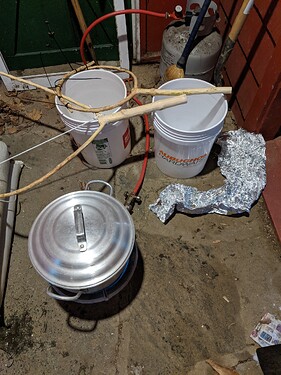
At this stage, I then devised a crude method of steaming each handle and bending it to shape. Each handle took 3 to 4 steaming sessions (2 to 3 hours per session) to get to an approximate shape I liked.
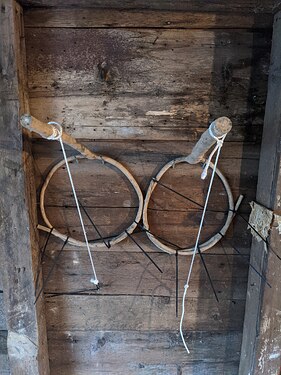
Once the steaming was completed, I arranged a method for them to be formed and cure.
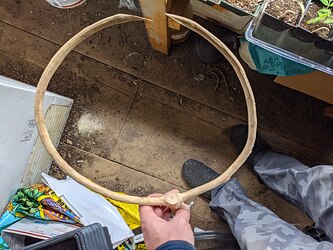
After curing for approximately 15 months, I felt it was time for the next steps. After removing them from the makeshift curing harness, I cut them to shape and removed all material down to the xylem (wood).
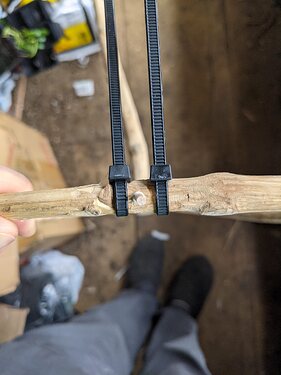
After the joint was mated, glued, and cured, I took an additional step to protect and strengthen the joint. I drilled and pinned it with a maple dowel. This is likely not traditional, but I felt it important for extra strength and safety.
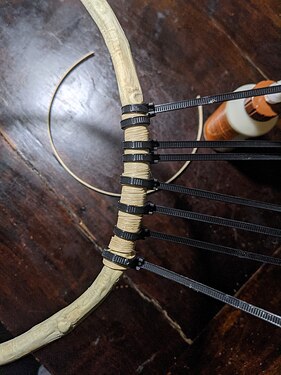
After the dowel was cured, it was trimmed and I did all final shaping. I also sanded it three times with 120, 240, and 320 grit sandpaper. Next, I took split bamboo reeds and glued and wrapped the joint for the hoop. On several Japanese made tamo that I have seen, they all have this. I don’t know if it is structural or cosmetic. I did it for both reasons.
After curing, this section was sanded and an stray areas of glue were removed. This was one of the hardest parts of building the entire tamo.
At this point, it has been 18 months since the tree was cut down and it is starting to finally look like a tamo. I did one final sanding for good measure and it was time to stain the wood. I created a custom blended color for stain. The handle was stained, rubbed, and dried three times giving it a unique patina.
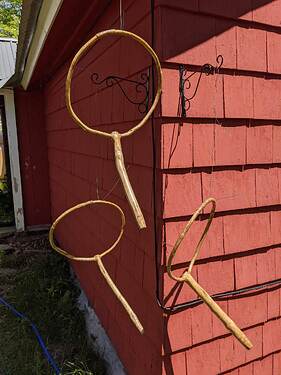
After the stain was fully dry, it was now time to begin the final stage. The tamo received 9 separate coats of oil-based spar varnish. After each coat had fully cured, it was lightly sanded with 2000 grit wet/dry sandpaper. That was done for each of the first 7 coats of varnish. The final two coats of varnish were left smooth.
This was the seventh coat curing in the sun about a week and a half ago. The UV rays in the sun help fully cure the spar varnish ensuring the final two coats were smooth and hard.
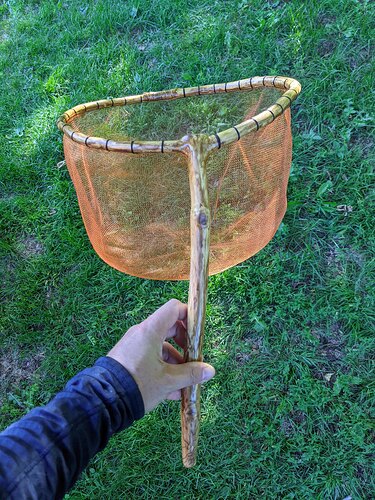
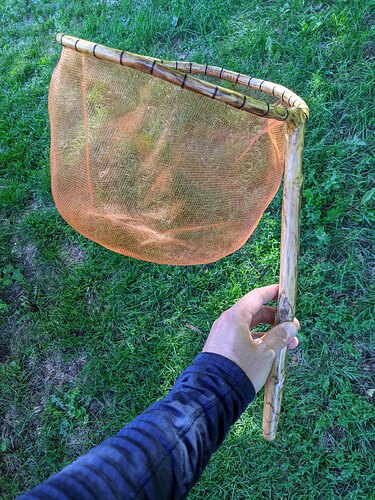
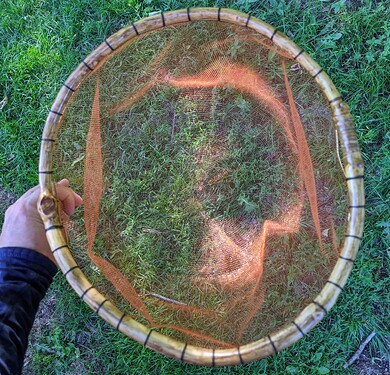
Last but not least, I attached the net to the handle. The net and mounting kit was purchased from the famous Mankyu Net Co, direct from Japan. The net is orange with 2 - 3 mm holes.
Over the year and a half that it took to make this tamo, I estimate that approximately 80 hours of my work went into each tamo.
